

Background
After moving BisQue to full K8s, I started using ArgoCD for BisQue as our Continuous Deployment system and was immediately blown away by the ease of use. I was forced to be more organized and structured with my GitHub commits, which resulted in more stable releases. My previous experience with the Argo team was with Argo Workflows loved that too so now BisQue's entire module execution engine is powered by Argo Workflows.
What is ArgoCD
ArgoCD is a declarative, GitOps continuous delivery tool for Kubernetes. ArgoCD is responsible for continuously monitoring all running applications and comparing their live state to the desired state specified in the Git repository.
My Advice and Experience
As aforementioned, I was forced to use the GitHub repository for our platform as the ground truth. This meant it had to be clean and always in a stable working state. We were able to ship code to production faster and more frequently. Funny enough, we had less bugs and we kind of had a huge weight lifted off our shoulders since we didn't have to worry about deployment schedules.
If you pair ArgoCD with Argo Workflows, it becomes an incredibly powerful tool for your entire application. Everyone's use case is different, but for a machine learning platform, I highly recommend it for solid production level workloads. I also used GitHub actions with ArgoCD and Argo Workflows. The one downside is there is a ton of setup involved for production so take your time and read the docs!
Definitely do your homework and figure out what's best for you because there are several CI/CD solutions out there. I would be interested to hear what you ended up going with!
Choosing an Installation
ArgoCD offers two types of installation methods
- Quickstart install.yaml Mainly for trying out ArgoCD, small to large projects would see an immediate use case, in my opinion.
- Production HA ha/install.yaml The route to go for production
NOTE: I am assuming you have kubectl installed and you know the location of your KUBECONFIG file.
- [x]
kubectlCLI Installed - [x]
KUBECONFIG(default location is~/.kube/config).
Quickstart
kubectl create namespace argocd
kubectl apply -n argocd -f https://raw.githubusercontent.com/argoproj/argo-cd/stable/manifests/install.yaml
Creates argocd namespace and installs Argo CD application. You should see the following successful deployment of the pods:
[root@amil ~]# kubectl get pods -n argocd
NAME                                                READY   STATUS    RESTARTS      AGE
argocd-notifications-controller-5549f47758-c46f7    1/1     Running   0             31m
argocd-redis-79bdbdf78f-c42zc                       1/1     Running   0             31m
argocd-applicationset-controller-79f97597cb-bxfgg   1/1     Running   1 (30m ago)   31m
argocd-dex-server-6fd8b59f5b-rzbpb                  1/1     Running   0             31m
argocd-application-controller-0                     1/1     Running   0             31m
argocd-repo-server-5569c7b657-k5h2f                 1/1     Running   0             31m
argocd-server-664b7c6878-dh2sb                      1/1     Running   0             31m
svclb-argocd-server-q6tpx                           2/2     Running   0             16m
Access UI
Option 1 Port-Forwarding
kubectl port-forward svc/argocd-server -n argocd 8080:443
If you are using a remote machine, remember to set the --address flag.
Example with Address Flag
kubectl port-forward svc/argocd-server -n argocd 8080:443 --address 128.112.93.8
Option 2 Service Type Load Balancer
kubectl patch svc argocd-server -n argocd -p '{"spec": {"type": "LoadBalancer"}}'
Login using UI
Get the Initial Password
kubectl -n argocd get secret argocd-initial-admin-secret -o jsonpath="{.data.password}" | base64 -d; echo
You should see an output similar to fboS9Fj-sBwetVyB which is our initial password.
USERNAME: admin
PASSWORD: fboS9Fj-sBwetVyB
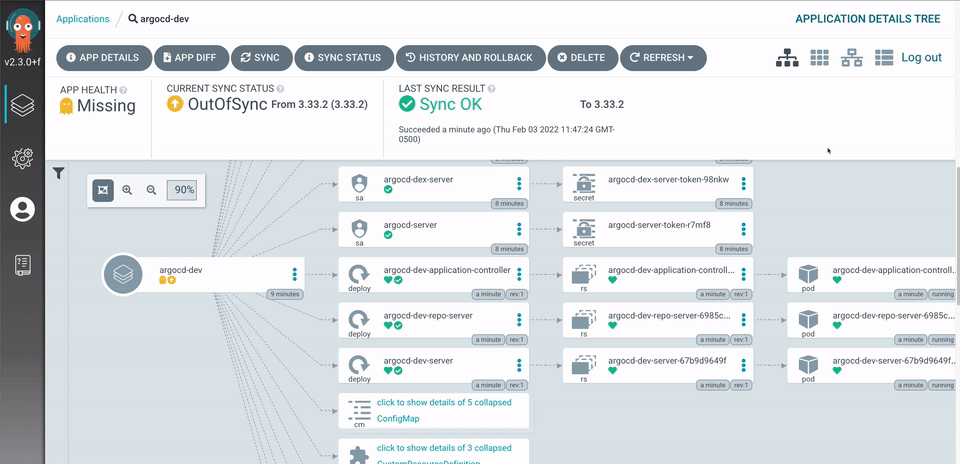
Add an Application
For this demonstration, I am using Argo Workflows and ArgoCD to showcase the continuous deployment and management side of ArgoCD. YES, ArgoCD managing itself!
I created a folder argo-workflows and got the quickstart-postgres.yaml for Argo Workflows into that folder. I also did the same for ArgoCD.
General Outline
- Create Github Repo
- Clone the repo locally
- Create a folder for your application deployment
argo-workflows - Go to the ArgoCD UI, Login, and select
+ NEW APP - Name your application, add the github repo, and specify the folder where your manifests live,
argo-workflows - Hit
CREATE!
mkdir argo-workflows
cd argo-workflows
wget https://raw.githubusercontent.com/argoproj/argo-workflows/master/manifests/quick-start-postgres.yaml

If you did not specify Automatic Sync, then you have to manually click Sync when you create the application.
GitHub
You can clone my repo and use the same setup to sync your ArgoCD instance with your GitHub repository.
 amilworks