

In this tutorial, I will spin up a Jupyter docker container with no volume mounts. I use Docker instead of a virtual environment because it is an isolated environment that doesn't install a bunch of crap on my computer. When I kill this container, everything inside the container goes with it—pip/conda installs, notebook(s), linux system package installs—and nothing stays on my machine.
Surprisingly, I use this often. Mainly because I have an idea and I need to test something out, visualize, and iterate responsively. Jupyter Notebooks are perfect for prototyping and a crucial part of my research workflow.
You have Docker installed on your machine and understand how containers work—start/stop containers, mount volumes, and networking basics.
If you do not have Docker then follow my tutorial below!
Just the Code
In your terminal,
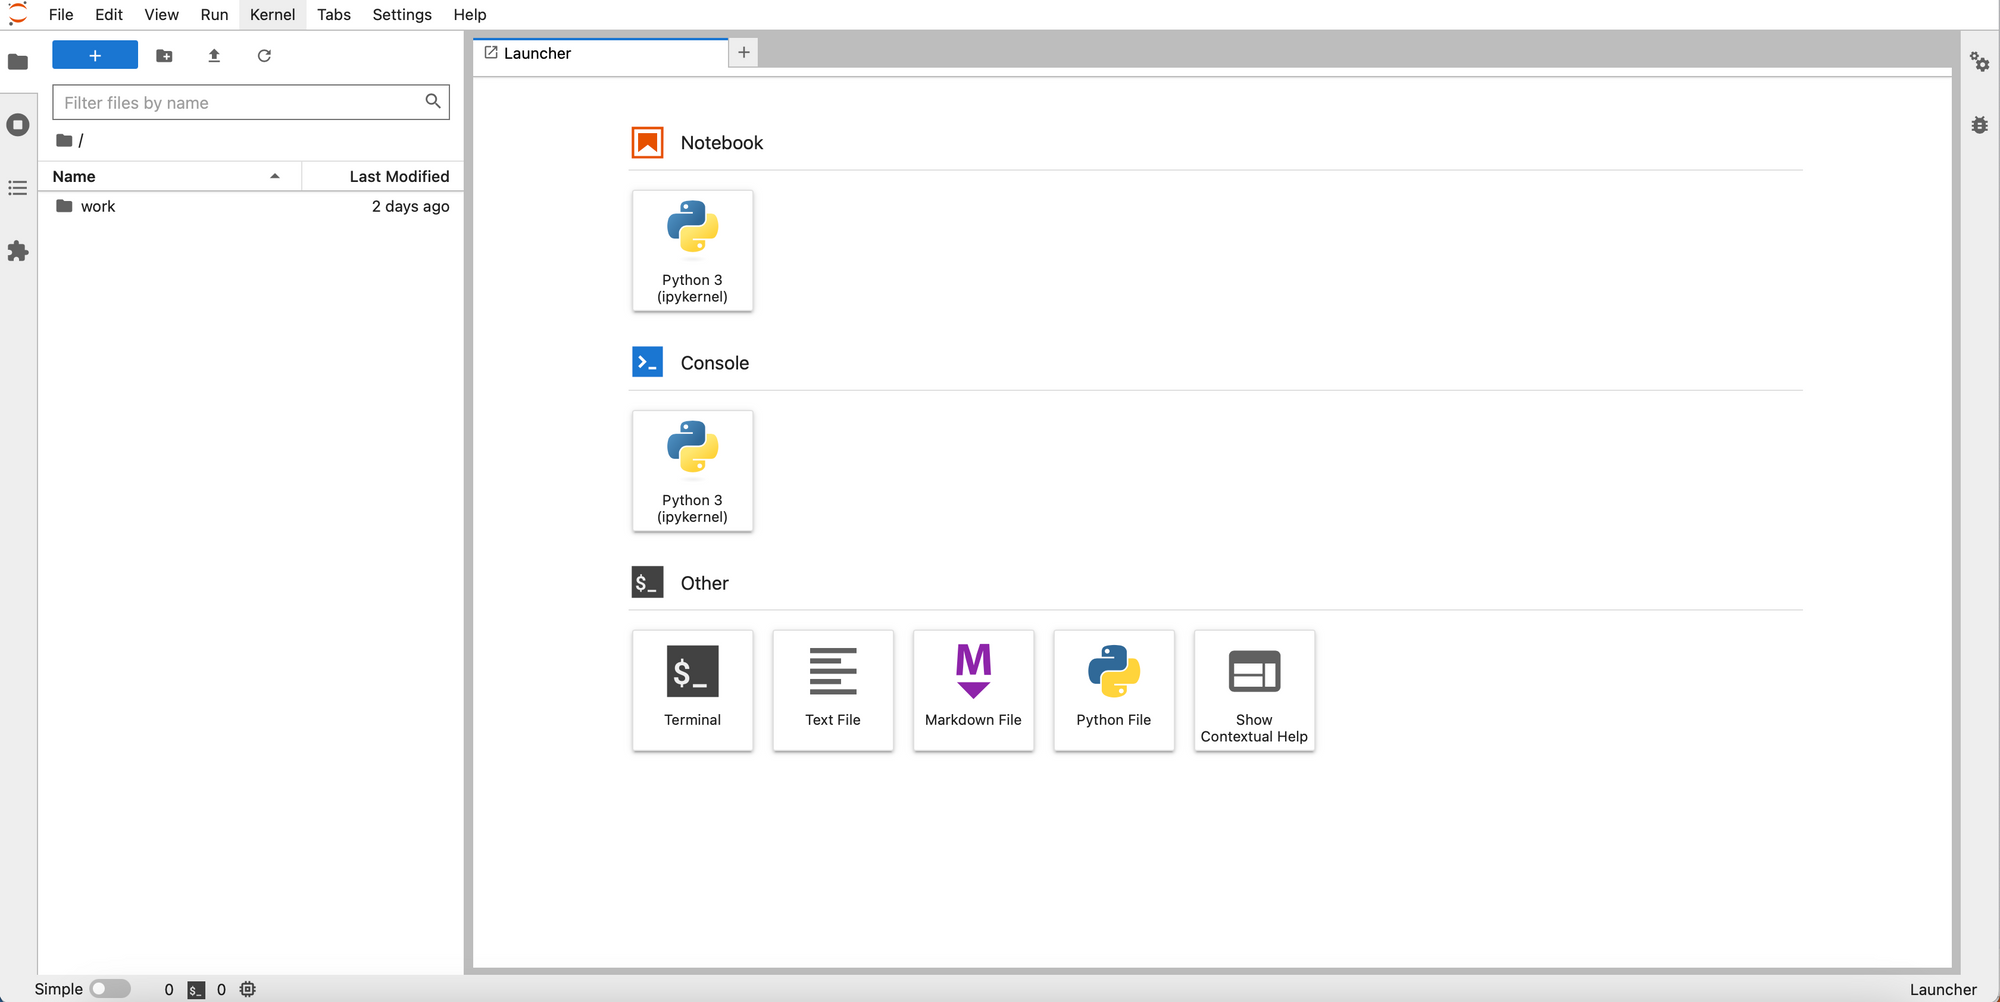
docker run --rm --name jupyter -p 10000:8888 jupyter/scipy-notebookOpen your web browser to http://localhost:10000. You should see this page
Go build something great now!
💥 Nuke
docker stop jupyterSince we added the --rm flag, this will remove the container completely and not have it dangling. You can view dangling containers by running
docker ps -aThen, you can clean this up safely by running
docker container prune🚀 Bonus Tips
Remember, you are now in a container, so feel free to apt install and pip install all the requirements you need in the terminal. This is your closed environment/codepark.
When you first open the terminal in jupyter, you might be placed into sh. You can type bash and you will have a more familiar interface. Additonally, you will have to run apt update first before doing any apt install.
To check what Python packages are installed in the container,
pip listYou can also upload data to the jupyter environment by using the Upload button in jupyter or by dragging and dropping the file/folder in the Left pane shown above.
